
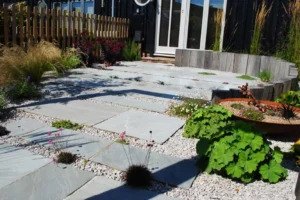

To lay sandstone paving slabs well, you need a firm base, a full mortar bed, and slabs that are primed and set level. SNK Surfaces, a CE and UKCA certified sandstone supplier and exporter from India, wrote this guide to walk you through every stage, from digging to sealing.
Overview of How To Install Indian Sandstone Paving
Indian sandstone paving suits patios, paths, pool surrounds and driveways. It is strong, grippy underfoot and rich in colour. It is also porous, and each slab varies slightly in thickness. So the method matters more than it does with concrete slabs.
Most failures come from three things. A weak base, a thin or patchy mortar bed, and skipped priming. Fix those and your paving stays flat for decades.
The job has nine stages. You mark out, dig, level, build the base, prepare the slabs, mix mortar, lay, joint and let everything cure. Each stage depends on the one before it. Rush one and the problem shows later as rocking slabs, hollow sounds or stains.
Plan your time. A 15 square metre patio usually takes a confident builder two to three days. Add a day for jointing and cleaning. On larger sites, crews work in bays so one section cures while the next is laid.
Watch the weather. Avoid laying in frost or heavy rain. Cover fresh work with plastic sheeting if showers are coming.
Order 10% extra for cuts and breakage. Natural Stone also varies in shade, so mix slabs from several packs as you lay. This blends the colour across the whole surface.
This guide covers tools, materials, each step, sealing, common mistakes and the questions installers hear most. It suits contractors, builders, landscape designers and homeowners.
Choosing the Best Indian Sandstone Paving
Pick your stone before you pick your tools. Natural Sandstone comes in many looks, and the finish changes how you install it.
Types of Indian Sandstone Paving include riven, sawn, honed, tumbled and flamed. Riven has a textured, grippy face. Sawn and honed are smoother and need more careful priming. Tumbled gives an aged look.
Colour is the next choice. Kandla Grey gives a clean, modern feel. Fossil Mint adds warm buff and green tones. Raj Green, Autumn Brown and Sagar Black suit more distinctive schemes.
Ask for calibrated slabs, usually 22mm thick. Even thickness means less bed adjustment and faster, neater laying.
Tools and Materials Required for Installation
Tools
- Wheelbarrow and spade
- Rake and string line
- Spirit level and tape measure
- Plate compactor
- Rubber mallet
- Trowel and pointing tool
- Sponge and soft brush
- Angle grinder with diamond blade
- Gloves, goggles and dust mask
Materials
- Sandstone paving slabs (area plus 10%)
- MOT Type 1 sub base
- Sharp sand and soft sand
- Cement
- Paving primer or slurry mix
- Jointing mortar or compound
- Stone sealer
- Clean water
How To Install Indian Sandstone Paving
Step 1: Determine Paving Placement
Choose a firm, level and well drained spot. Mark it with spray paint or pegs and string.
Plan a gentle fall of about 1 in 80 away from buildings. Keep the finished surface at least 150mm below the damp proof course. Dry lay the slabs on the lawn first to test your pattern and spot cuts early.
Step 2: Digging the Foundation
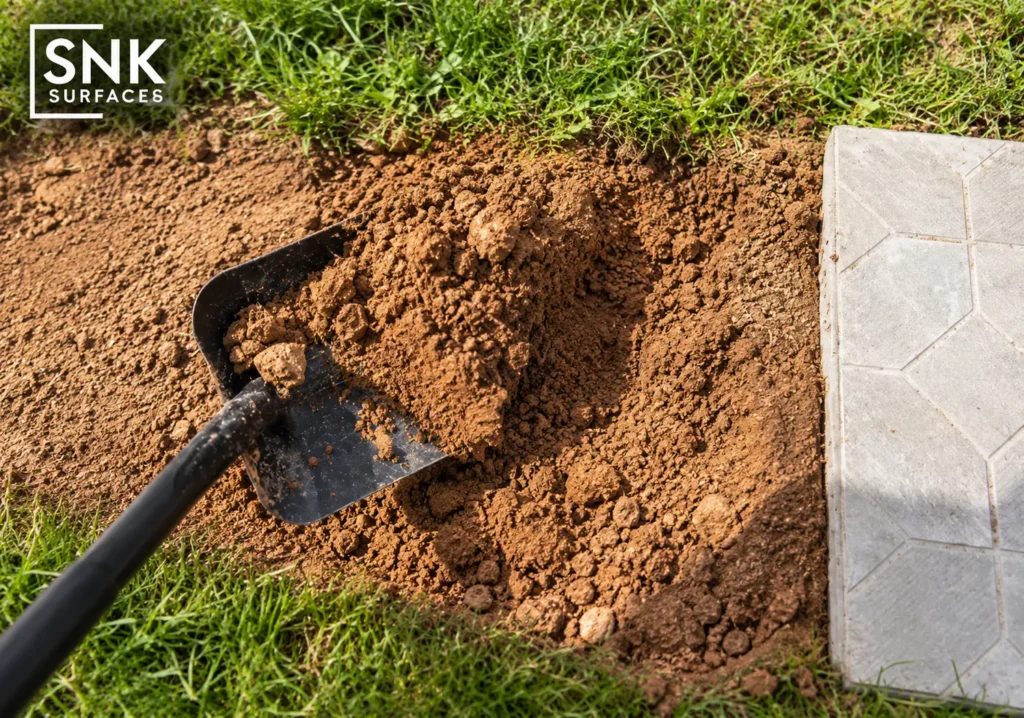
Dig out at least 125mm plus the slab thickness. Remove all topsoil, roots and vegetation.
For driveways, dig deeper and use a thicker sub base. Set firm edge restraints around the area so the paving cannot spread.
Step 3: Level the Foundation
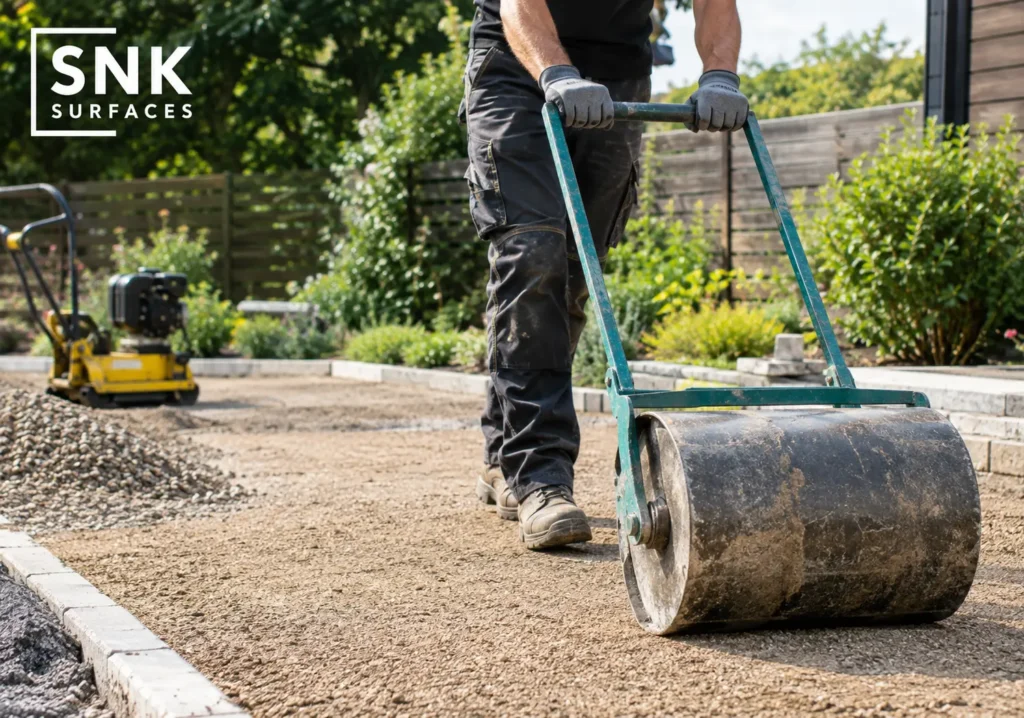
Set string lines to show your finished height and falls. Rake the soil to shape, then compact it.
Dig out any soft spots and refill them with compacted sub base. Check with a spirit level as you go.
Step 4: Apply the Foundation Base
Spread MOT Type 1 in 50mm layers. Compact each layer with a plate compactor until you reach 100mm. Keep the falls you set earlier.
Existing concrete can work too. Laying sandstone slabs on concrete is fine if the concrete is sound, crack free and already falls away from the house. Sweep it clean, prime it and use a full mortar bed.
Avoid bare sand as a bed. Laying sandstone paving on sand gives porous slabs poor support, so they shift and rock. Use sand and cement instead.
Step 5: Preparing the Indian Sandstone Slabs
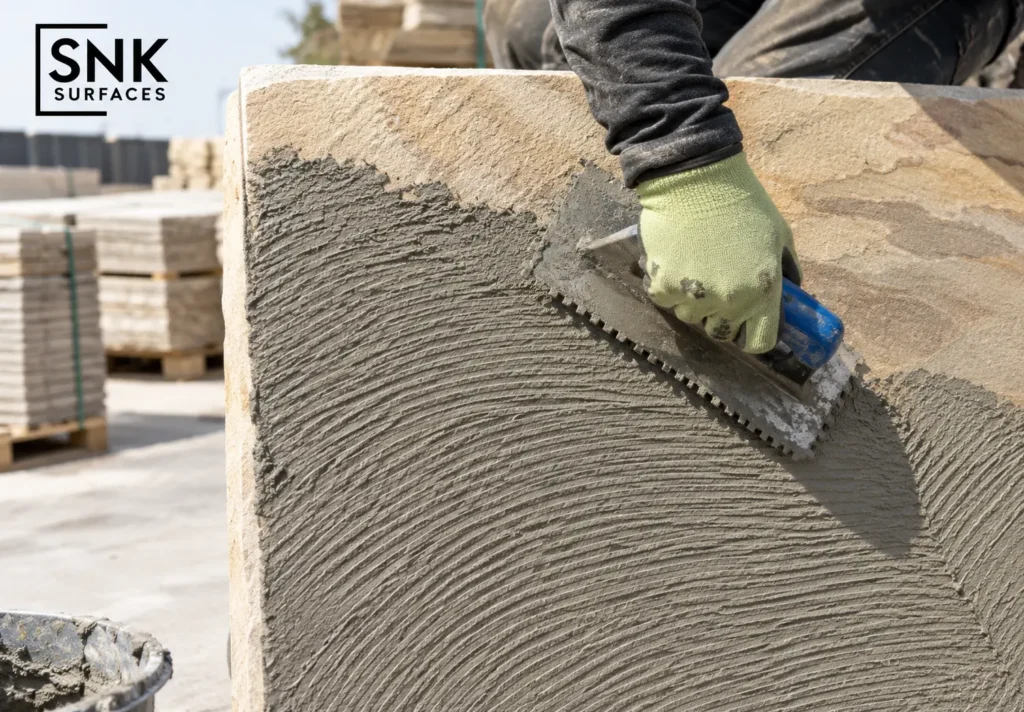
Wash the backs with a sponge and clean water to remove dust. Then prime the backs with a paving primer or a slurry of cement and water.
Priming improves bond, limits water suction and helps stop mortar stains on the face. Skipping it is the most common cause of patchy marks.
Cut slabs before you mix mortar. Mark the line, score it, then cut deeper in passes. Wear a mask, as sandstone dust is harmful.
Step 6: Mortar Preparation
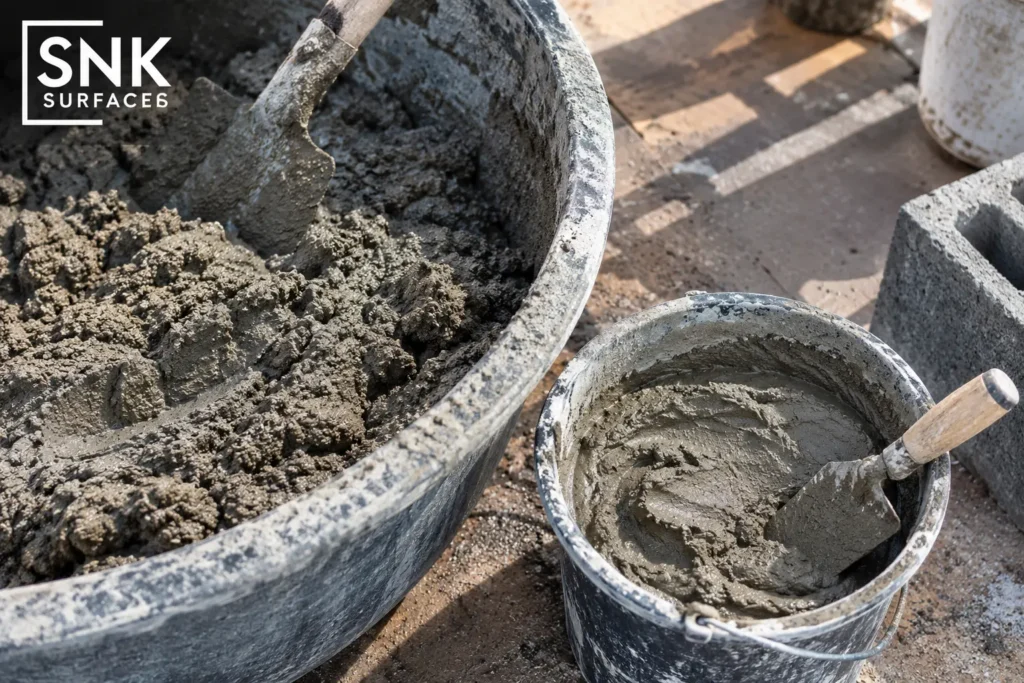
Mix sharp sand and cement at 4:1 to 6:1. Follow your primer or supplier advice.
Laying sandstone slabs on dry mix works well when the mix is semi dry. It should hold its shape when squeezed, with no water dripping out. Beginners often find a slightly wetter, stiff mix easier to spread.
Work in small sections. Spread a full bed 30 to 40mm thick. Never spot bed with dabs of mortar, because the gaps cause hollow spots and cracked slabs.
Step 7: Laying the Sandstone Paving Slabs
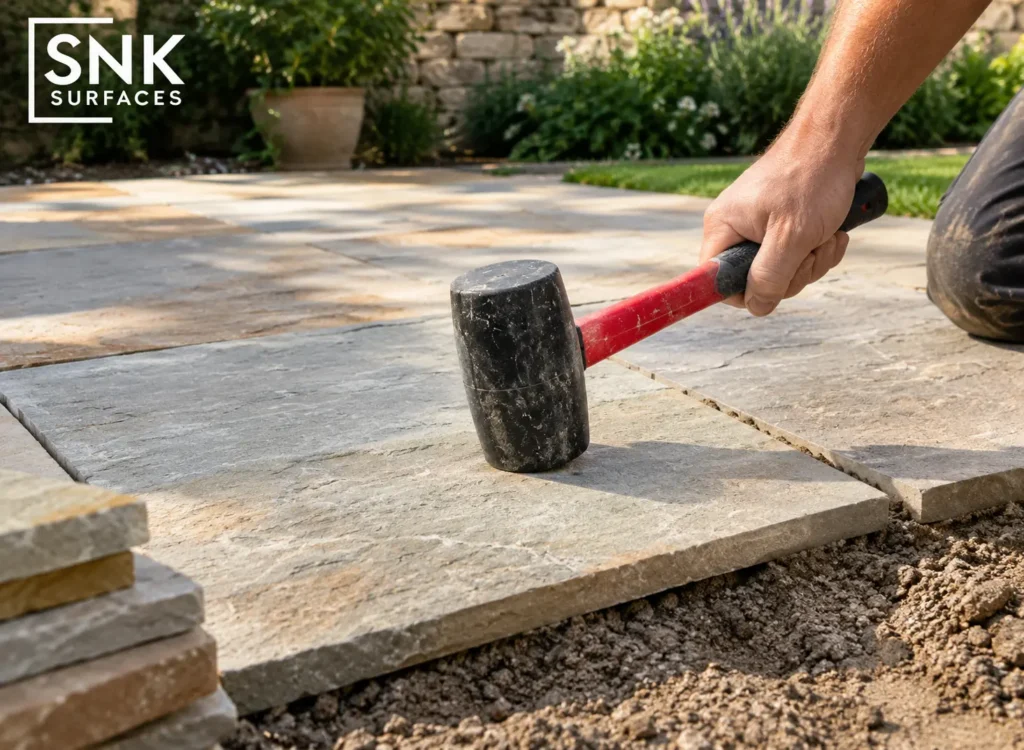
Start at a fixed edge or corner. Lower each primed slab onto the bed. Do not slide it, as that pushes mortar into the joint.
Tap the centre and corners with a rubber mallet. Leave a 10mm gap between slabs and use spacers. Check level and fall every few slabs. Lift one now and then to confirm the back is fully bedded.
Wipe off mortar splashes straight away with a damp sponge.
Step 8: Jointing the Paving Slabs
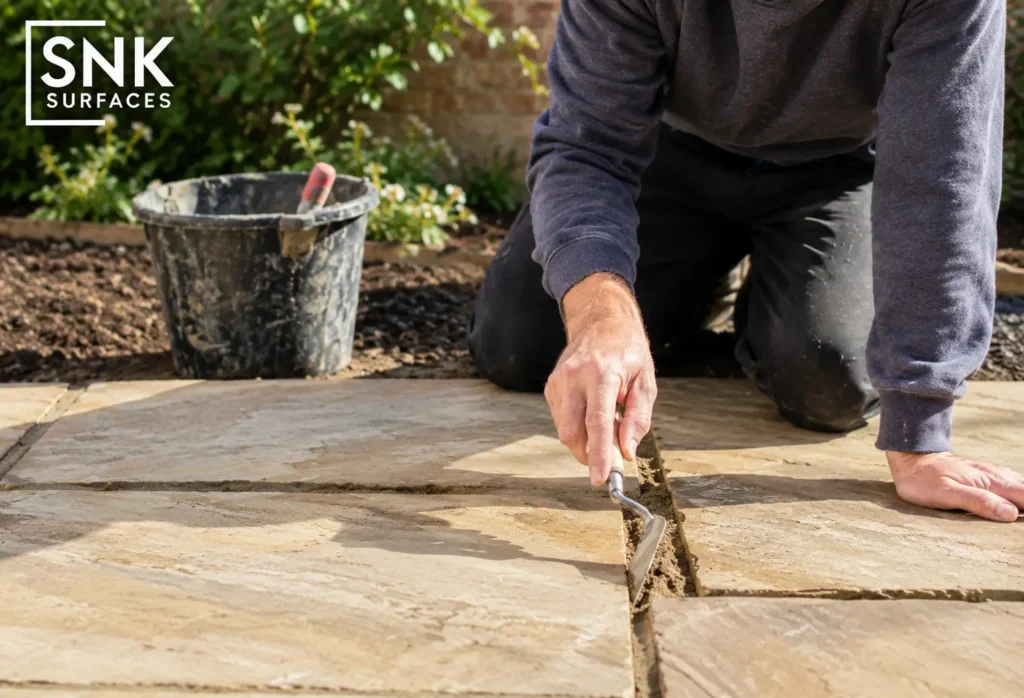
Mix soft sand and cement at 3:1 to 4:1, or use a jointing compound made for natural stone. Keep the mix damp, not soupy.
Press it into the joints with a pointing tool. Keep it off the slab faces. Avoid acid cleaners, because they can fade natural colour.
Step 9: Allow Setting Time
Keep foot traffic off for at least 24 to 48 hours. Allow longer in cold or wet weather. Keep heavy loads off for about a week. Sweep the surface once everything has hardened.
Sealing and Maintaining Your Indian Sandstone Paving
Sealing Sandstone Paving Slabs
Wait until the mortar has cured and the surface is fully dry, often a few weeks. Test the sealer on one slab first. Apply thin, even coats.
Sealer guards against oil, food and weather stains. Reapply when water stops beading, usually every one to three years.
Maintaining Sandstone Paving Slabs
Sweep often and wash with mild detergent and a soft brush. Use low pressure if you pressure wash. Pull weeds from joints early and repoint any cracked sections.
Avoiding Common Mistakes During Installation
Poor Base Preparation
A thin or uncompacted sub base settles. Compact in layers and keep your falls.
Incorrect Mortar Mix
Too much water weakens the bed. Too little leaves slabs unbonded. Measure your ratios.
Uneven Paving Slab Placement
Check level after every slab or two. Fixing one slab now is easier than lifting a row later.
Not Sealing Sandstone Paving Slabs
Unsealed stone absorbs spills fast. Seal once the surface is dry and cured.
Why Indian Sandstone Is Ideal for Paving
Natural Stone Resilience
Sandstone is a sedimentary rock formed from compacted sand grains. That quartz rich structure handles rain, frost and sun with ease.
Durability
Dense sandstone copes with heavy foot traffic and freeze thaw cycles without flaking when installed on a proper base.
Cost Effectiveness
It costs less than many other stones and lasts for decades. That keeps lifetime cost low.
Easy Maintenance
A brush, mild soap and occasional resealing keep it looking fresh.
FAQs (Frequently Asked Questions)
Can you lay Indian sandstone on a dry bed?
Yes, if you mean a semi dry sand and cement bed. Prime the slabs and lay on a full bed. Loose, plain sand is not suitable.
How to lay sandstone paving slabs on concrete?
Check the concrete is sound and has falls. Clean and prime it, then lay slabs on a 30 to 40mm full mortar bed.
How to Cut Indian Sandstone Paving?
Mark the line, then cut with a diamond blade angle grinder in shallow passes. Wet cutting reduces dust. Always wear a mask and goggles.
Can you lay sandstone paving on sand only?
No. Sand alone lets slabs move and rock. Use a sand and cement bed for a lasting result.
How thick should the mortar bed be?
Aim for 30 to 40mm after the slab is tapped down. Always use a full bed, never spots.
Do you need to prime Indian sandstone slabs?
Yes. Priming improves bond, reduces water suction and helps prevent staining on the face.
What gap should you leave between slabs?
Leave about 10mm. This gives room for jointing and allows for small size differences.
How long before you can walk on new paving?
Wait 24 to 48 hours. Allow longer in wet or cold weather.
When should you seal sandstone paving?
Seal once the mortar has cured and the surface is completely dry, often after a few weeks.
How deep should the base be?
For patios, use about 100mm of compacted MOT Type 1. Driveways need a deeper base.
Why Choose SNK Surfaces
SNK Surfaces is a trusted sandstone supplier and exporter, with products certified to CE and UKCA and tested to BS EN 1341. We quarry, calibrate and pack Indian sandstone for projects in more than 45 countries.
Our slabs are cut to consistent thickness, which saves time on site. Choose from Kandla Grey, Fossil Mint, Raj Green, Autumn Brown, Sagar Black and more, in riven, sawn, honed and tumbled finishes.
Need stock closer to your site? Our UK warehouse holds selected natural stone and paving products for quick UK delivery. Importers, distributors, landscapers and contractors can order from local stock. For larger projects, we also manufacture and ship stone and porcelain surfaces from India worldwide.
Ready to lay sandstone paving slabs on your next project?
Visit SNK Surfaces to request samples, specifications and a quote.